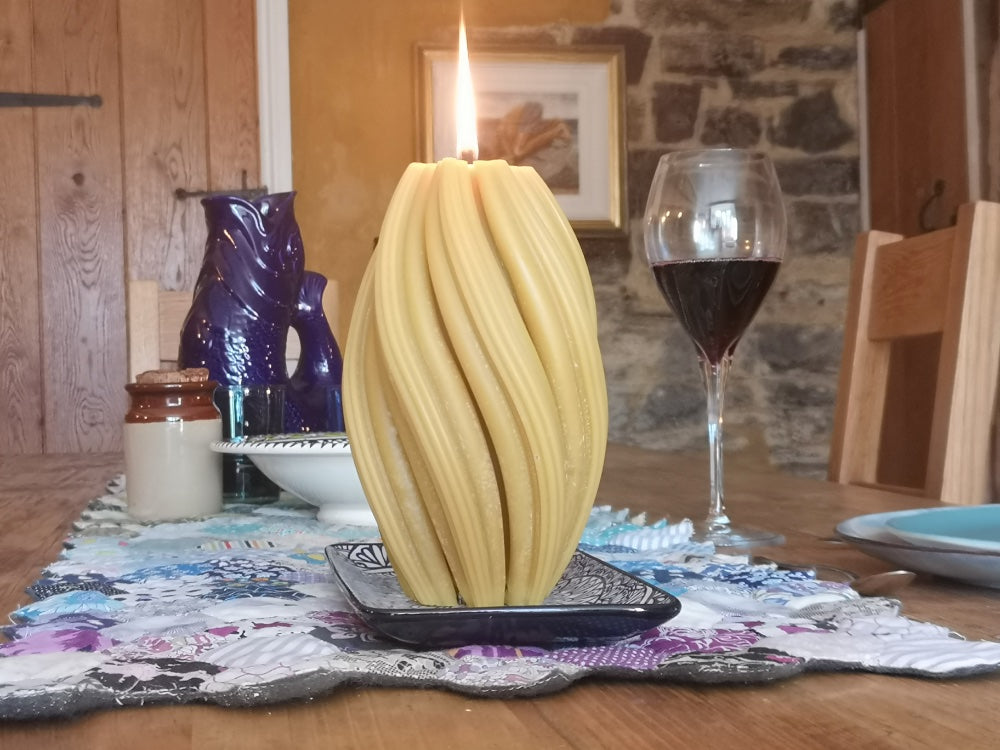
Care of beeswax pillar candles
Armed with some basic information, your pure beeswax pillar candle will provide hours and hours of relaxing ambiance.
How to light...
Light at base of wick
In order for a candle to work, it must move molten wax up the wick to feed the flame. You should therefore light the candle by holding a match to the base of the wick, long enough to melt wax around the base of the wick (not the top).
Beeswax is a harder wax than than alternatives...
hold the flame of a match at the base of the wick, in contact with the beeswax...
Keep the flame in contact with both wax and base of wick for slightly longer than you might with standard candles.
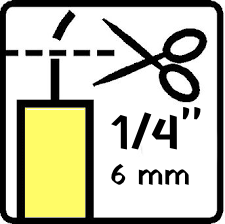
To maintain the efficiency of your candle, it is recommended that the length of the wick be regularly trimmed to 6mm or ¼ inch, wick trimming should be carried out before the wax on the wick cools as it becomes brittle when cool and can break, a broken wick becomes difficult (but not impossible) to light.
If using a candle for extended periods it is recommended to extinguish, trim wick and re-light every four hours.
The below video is a test burn of our large ribbed pillar candle over 4 days of continuous use (extinguished every 4 hours to trim wick and then relit), the candle performed well, as expected. At one point the mantle collapsed and the wax pool spilled from the candle. This is not unusual and is easily rectified, instructions below:
Start video at 6 mins 20
How to repair the mantle
It is not uncommon for the mantle (wall of wax around the candle) to melt into the wax pool, sometimes this can allow the wax pool to drain down the sides of the candle which creates some beautiful effects and is often worth waiting for and leaving as natural art.
Rebuild the wax pool reservoir
The mantle can easily be fixed by extinguishing the candle and using the warm wax overspill to rebuild the wall around the wax pool reservoir -see video at 6mins 20 above.
How to repair a drowning wick
Occasionally a flame can melt so much wax that the wick does not have enough room for oxygen for example when a tall mantle folds into the wax pool.
Repair a drowning wick
A drowning wick can easily be fixed by using a piece of kitchen paper to soak up excess wax allowing wick to stand 6mm above wax pool. Allow candle to cool again before relighting.
How to repair a broken wick
Occasionally a wick can break and leave too small an amount of wick to relight. Avoid handling a cold wick as they are extremely brittle.
Repair a broken wick
A broken wick can easily be fixed; allow the wax to cool, excavate wax immediately surrounding the broken wick to a diameter of 25mm allowing the wick to stand 6mm above what would be the wax pool.
How to repair tunneling
Tunneling can occur if the flame has not had sufficient time to burn in order to create the widest wax pool on first lighting.
It is important when using a new beeswax pillar candle, that you allow the candle to burn for a sufficient length of time to enable the wax pool to reach its widest diameter. Depending on the size of the pillar candle, this could take up to 40 minutes or longer. Do not light until you have the time to spare... A burning candle should not be left unattended.
Reset a tunneled candle
Tunneling can easily be fixed by following the 6 steps below:
- Trim the wick and remove any debris inside the tunnel.
- Cover the top of the candle with aluminum foil.
- Cut or fold a small opening (around 1-inch) in the center of the aluminum foil.
- Remove the aluminum foil, light the wick, then place the foil cover back on.
- Allow the candle to burn for a few hours until the top surface of wax has completely melted and smoothed over.
- Set your candle aside and let the wax harden over the next few days to reach full hardness.
Contact us if you have any questions
Handmade on Cox’s Farm in Somerset
Pure beeswax pillar candles
Somerset beeswax candles, individually handmade using traditional methods


